Quick Method of Importing a new OLI model into Aspen Plus
How to import a new OLI chemistry model into an existing Aspen PLUS flowsheet?
This is a quick way of importing a model. What we have said is actually not true. What we are going to do is create a new Aspen PLUS flowsheet using the OLI Chemistry Wizard (this creates the BKP file) and then copy and paste the existing flowsheet into the new flowsheet.
For our example we are using Aspen Plus V8.4 and the OLI engine 9.1.5.
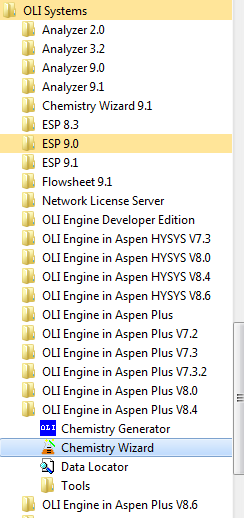
Let's create a new OLI Chemistry Wizard file for Aspen PLUS V8.4. To do this locate the OLI Chemistry Wizard from the Start Menu or desktop icon.
As you can see we have a lot of Aspen products installed.
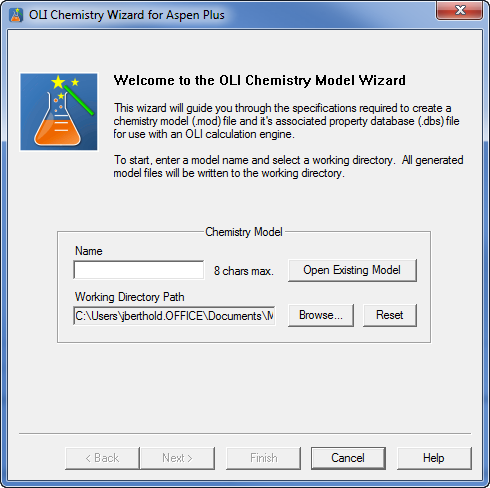
After starting this program you should see a dialog similar to this:
How to use the OLI Chemistry Wizard is described in detail elsewhere so we will only touch on the important points.
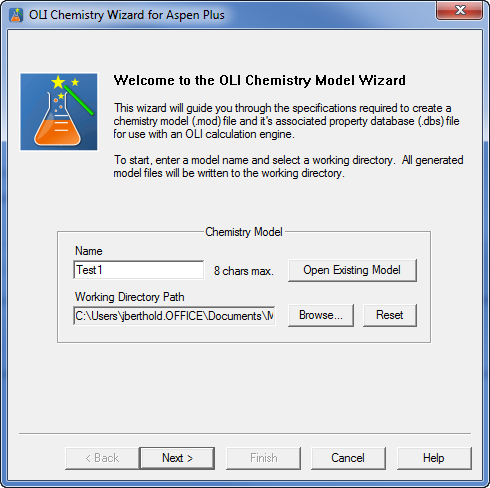
Use the Browse button to select a working folder and enter the name of your model. For our example we are using the name Test1
It is important to note that the generated OLI file and the Aspen Plus flowsheet file (BKP or APW) must both reside in the same folder.
Click the Next button to continue.
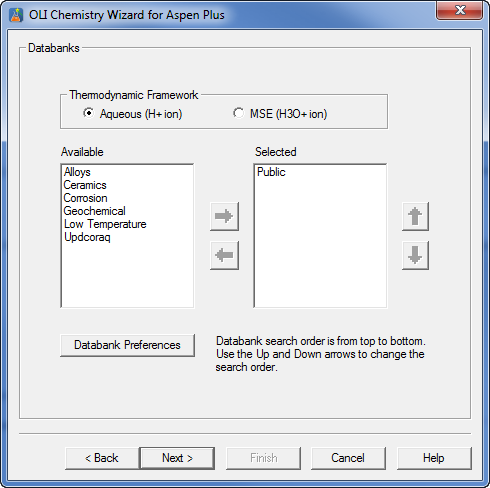
From this dialog you can select any additional databases and the thermodynamic framework. For our example will not be using any additional databases and will use the Aqueous framework. Click the Next button.
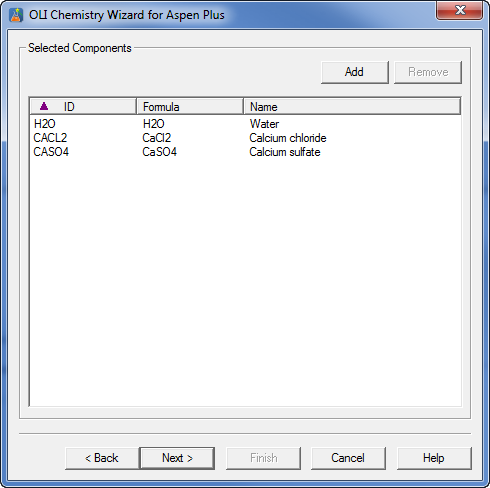
For our example please add H2O, CACL2 and CASO4. Click the Next button to Continue.
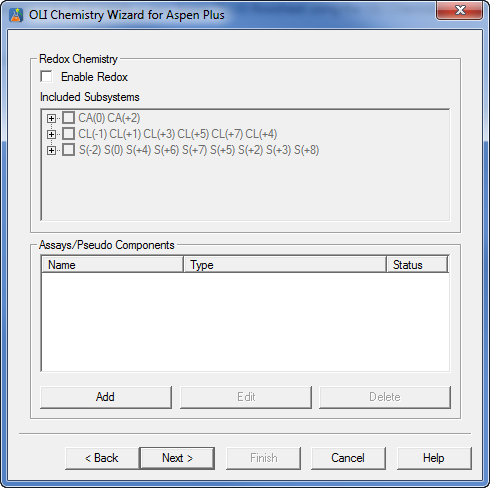
This dialog allows us to select REDOX phenomena and hydrocarbon inputs. We will ignore this for our example. Click the Next button.
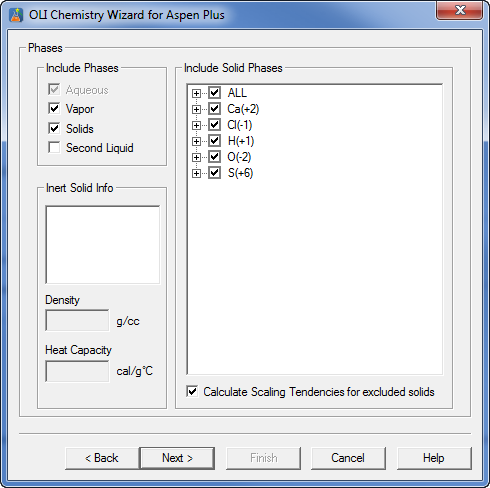
This dialog allows us to select phases and to turn on or off individual solids. We will accept the defaults for this dialog. Click the Next button.
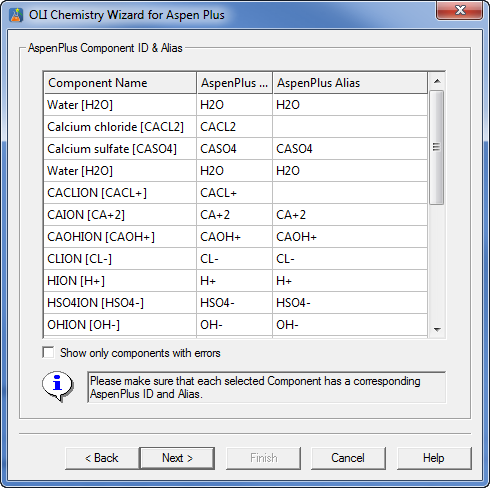
This is the first dialog that is specific to Aspen Plus. If any OLI name is too large for Aspen Plus it can be renamed. All of our example species are correct so click the Next button.
We are now ready to create the Aspen Plus BKP file. OLI uses this format to transfer the initial flowsheet settings required by the OLI Engine to Aspen PLUS. We are not making any changes here so click the Next button.
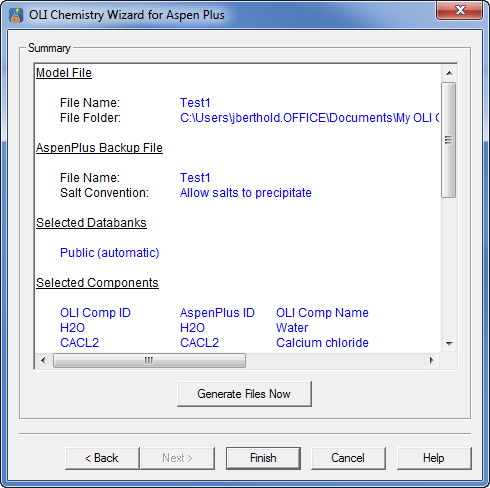
This is a summary dialog and will remind you where the BKP file will be located. Click the Generate Files button.
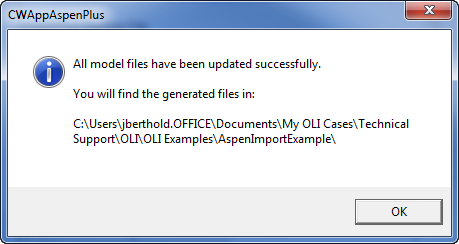
Once the generate is complete a message will be displayed. Click on the OK button to finish. Then click the Finish button.
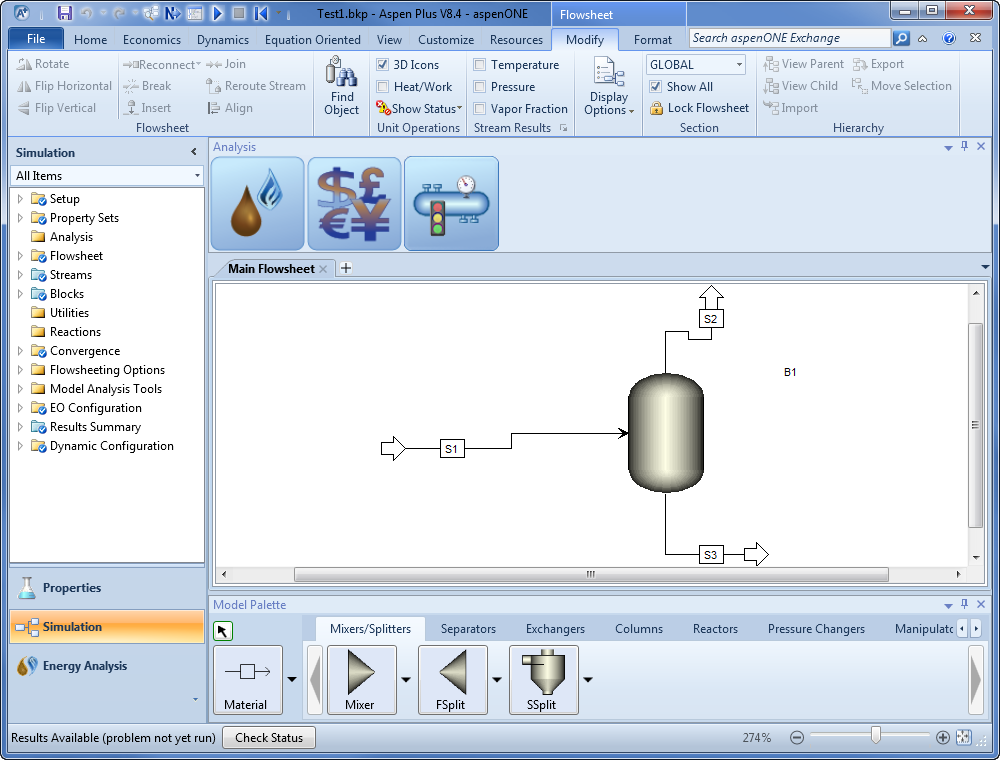
This was just an overview on how to create the BKP file. For the next example we are going to create a simple flowsheet with a single FLASH2 block. There will be a simple feed and an isothermal flash. We used Aspen Plus V8.4 to open this new BKP file and create the flowsheet. You can download this first example from here: TEST1.ZIP
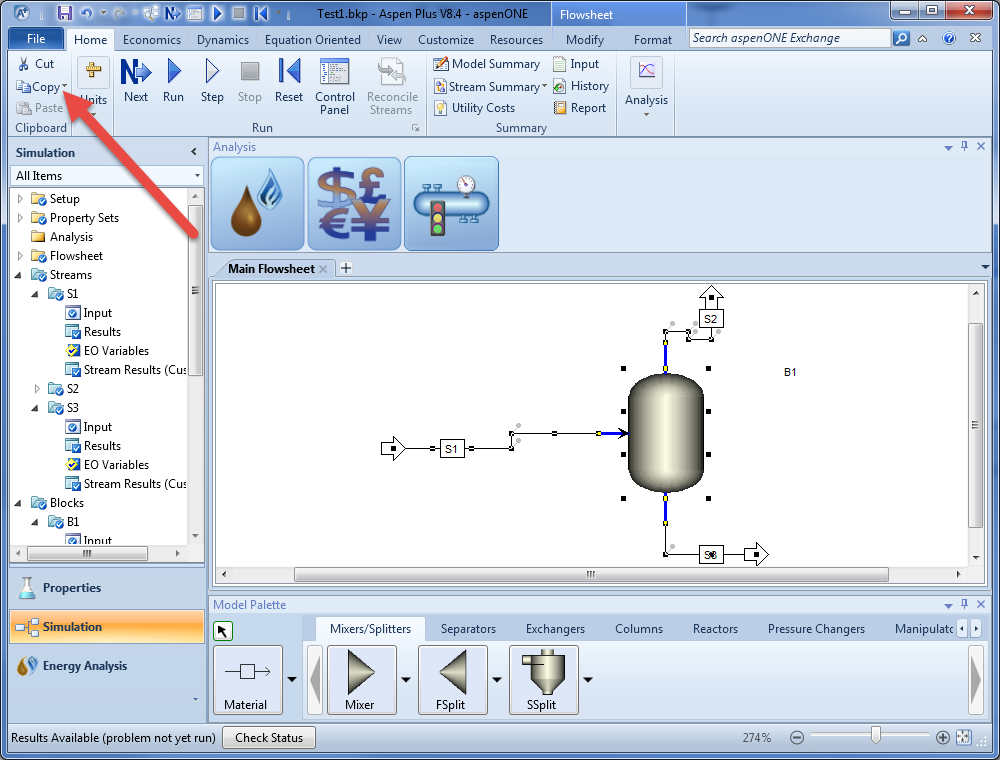
Here is the completed flowsheet in Aspen Plus V8.4
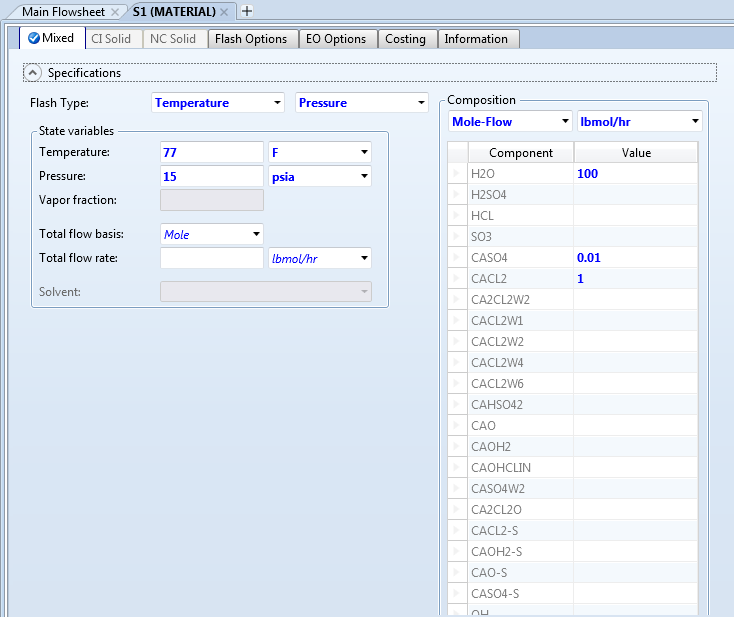
We will open stream S1 to see it's contents
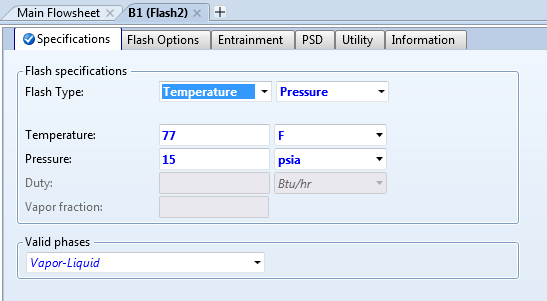
The block B1 is set to isothermal conditions for simplicity
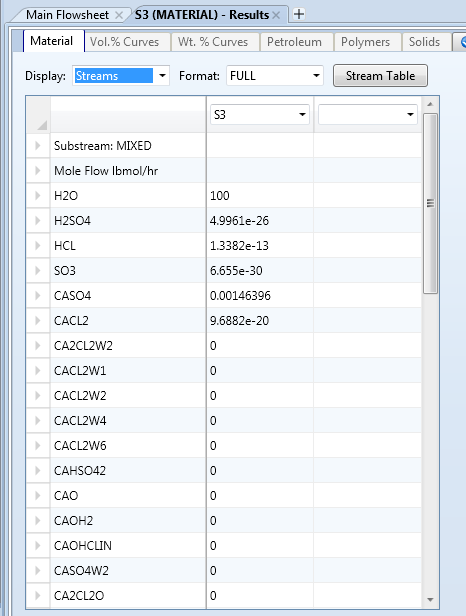
We are now ready to run the flowsheet. Go ahead and do so now. When done please review stream S3.
It is not the purpose of this tutorial to show all the chemistry in this stream.
Now we will take this flowsheet and copy it into a new process.
Many times when working on a flowsheet we decide that we need a new component. In our example here we need to add NaCl. To do this using the Aspen PLUS import feature is sometimes quite tricky. There is a faster way but fraught with more uncertainty.
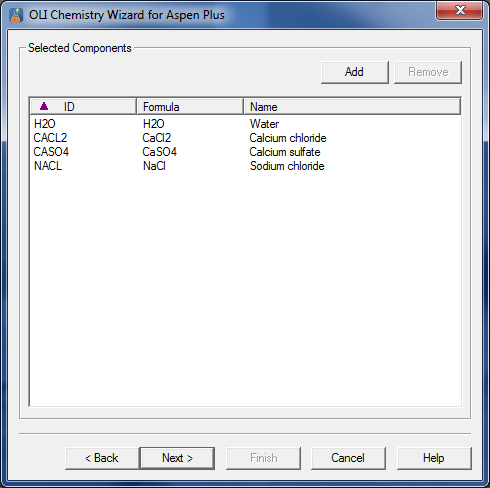
What we will do is create a new OLI Chemistry Wizard file (TEST2) and add the component NACL. The steps will be similar as to the steps outlined above. Here is the component screen after adding NaCl.
Complete the model generation and creation of the TEST2.BKP file as you did with the first example.
Now you will need to have two copies of Aspen PLUS V8.4 open at the same time. First open the TEST1 file (without NaCl)
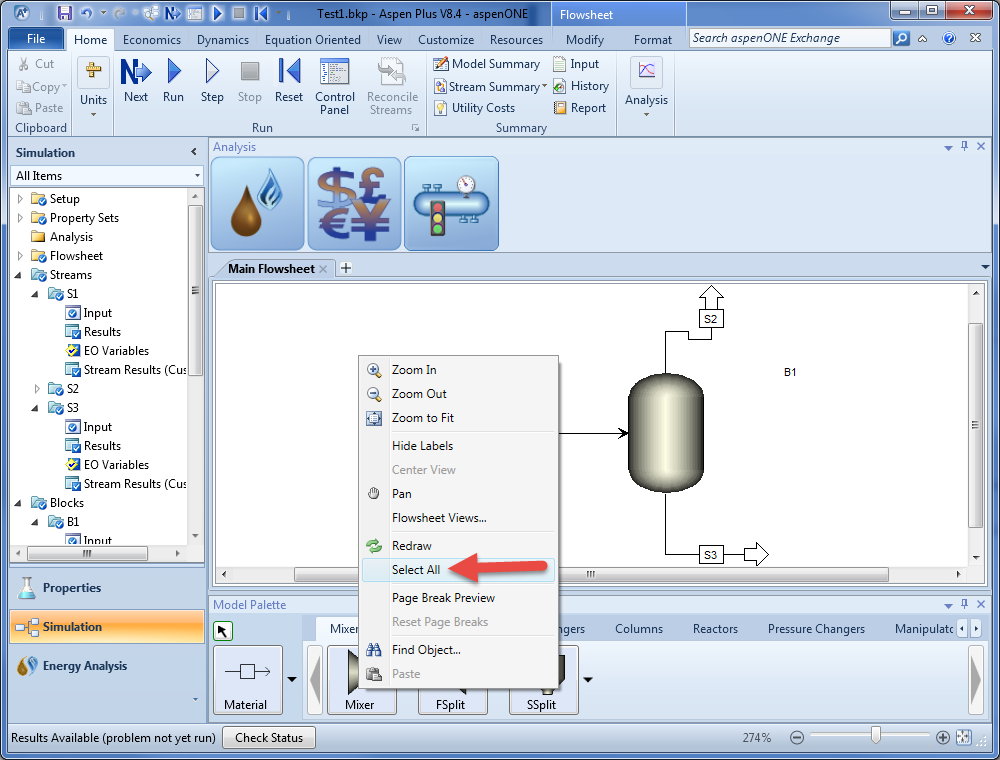
Right-click anywhere on the flowsheet:
Select Select All.
Select Copy from the Ribbon bar.
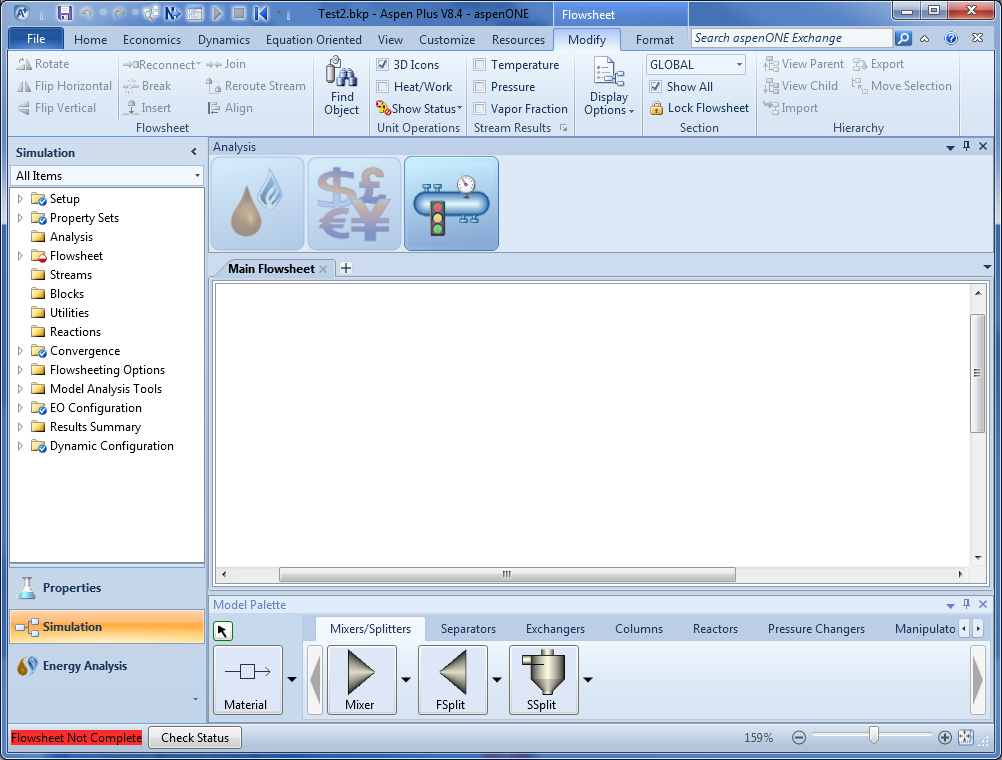
Now open the second copy of Aspen Plus V8.4 and open the new TEST2.BKP file.
If asked to close the existing copy of Aspen PLUS V8.4, OLI recommends NO.
Notice that the header now says TEST2.BKP.
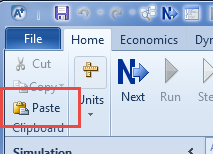
From the Home tab select paste.
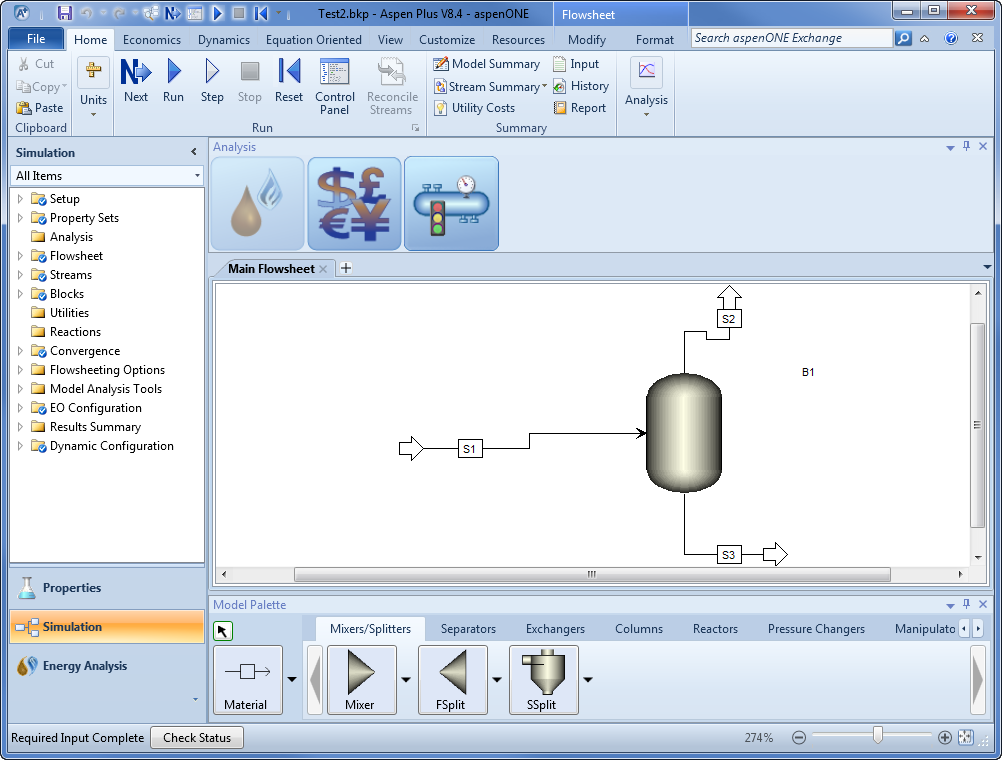
Success! the process has been copied. Notice that the status indicates that All Required Input is Complete.
Now open stream S1
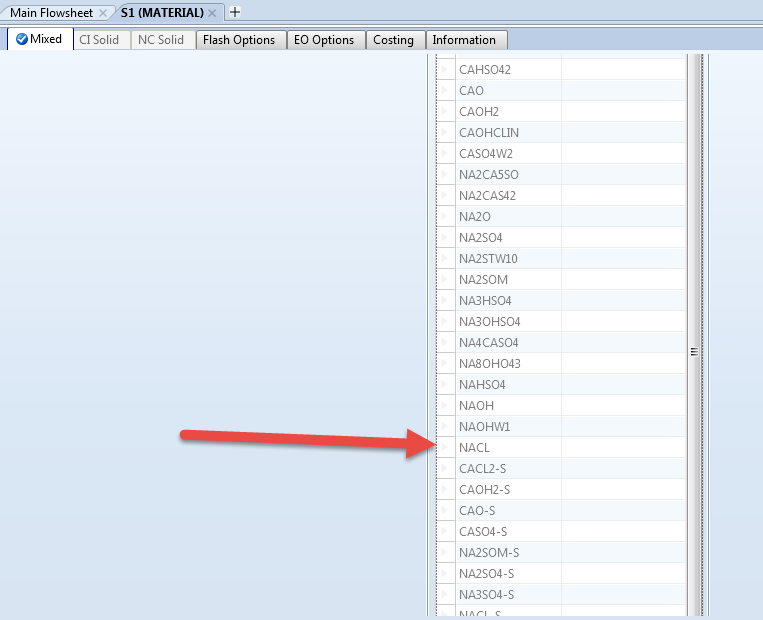
You may have to scroll down to find the new input species but there it is. You do not need to worry about importing individual species.
