Getting Started with Aspen Plus(V.8.6) OLI
Contents
Overview
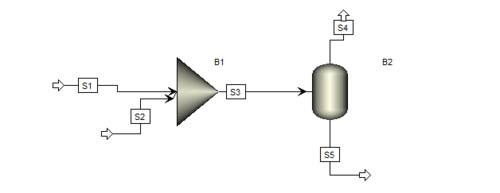
We have created this example to help user better understand the use of OLI inside of Aspen PLUS. Please refer to the flow sheet of the example we are about to see
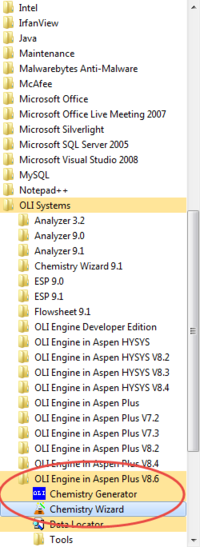
Now to activate OLI in Aspen PLUS , please make sure you have the correct OLI engine installed for your designated version. You can Confirm this at Programs-> All Programs-> OLI systems->OLI Engine in Aspen Plus 8.6
Creating an OLI Model for Aspen Plus V8.6
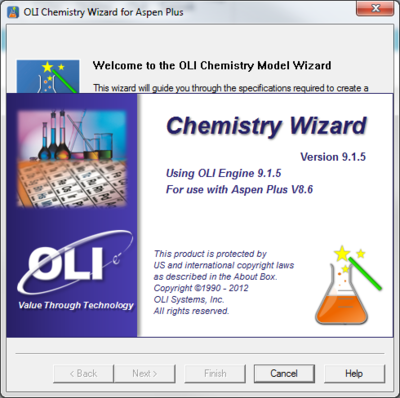
Please click on the chemistry wizard to generate a bkp file containing the OLI chemistry model you want to use inside of Aspen.
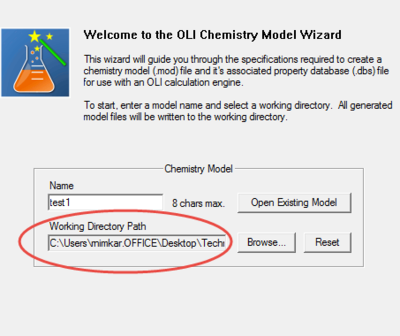
Please note the Working Directory Path you set up for his file. That is going to be the location where the bkp file is stored.
Click Next.
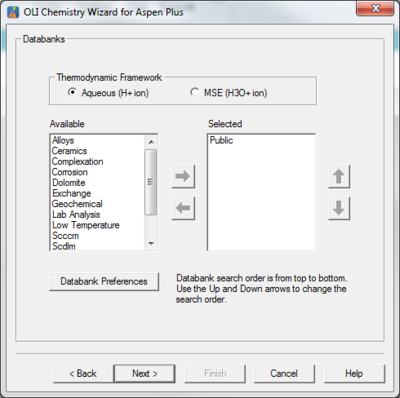
You will get to a page headed "Databanks" and you can choose the Thermodynamic Framework. For the example, we will choose the MSE radio button. No other databank is selected.
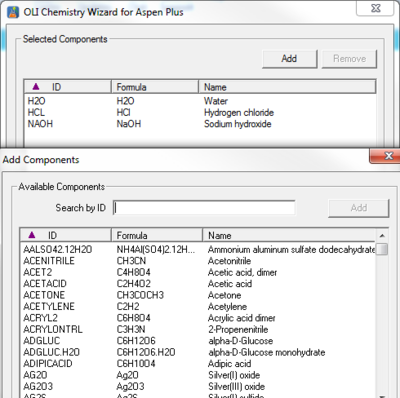
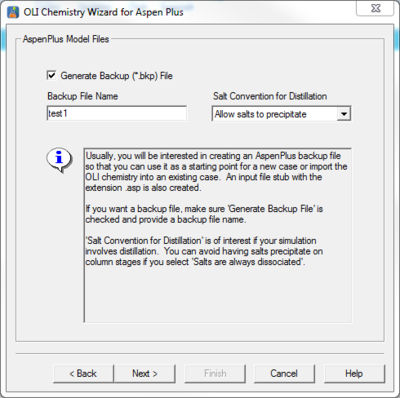
Keep pressing next till you see a message to create a *.bkp file. This is the file we will be using in Aspen for simulation.
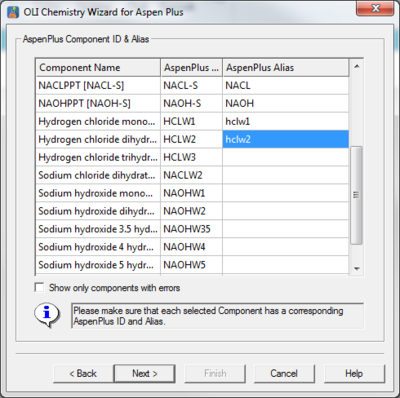
You will see an Aspen ID screens, please make sure you write up all the Alias names.
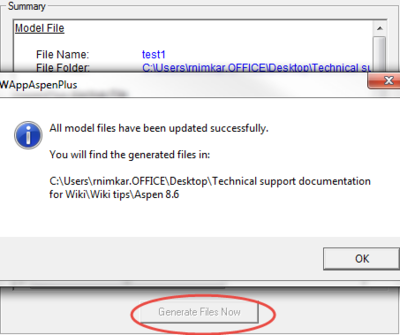
Click Generate Files Now. The location is shown in the pop up message.
Creating an Aspen Simulation
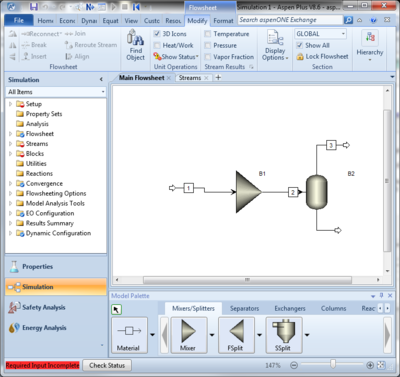
Open Aspen Plus V8.6 and create new a blank simulation. Go to the simulation mode and create the flow-sheet shown in the introduction section of this article. It is a mixer and a separator.
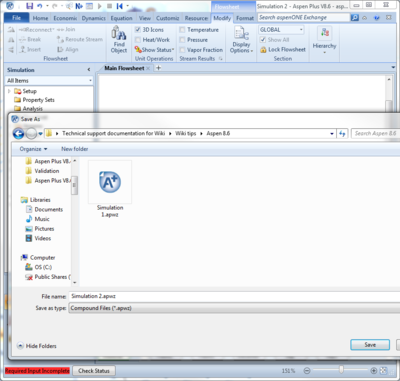
Make Sure to Save it at the same location where the OLI model from Chemistry Wizard is saved.
Please make sure to save it as a *bkp file.
You will notice that the apw file generates it's own folder which does not include the chemistry model file for OLI. For more information please also see Common Error Messages in Aspen PLUS.
Importing an Aspen Simulation in OLI model bkp file
Go to the location where the *bkp file test1 is saved. Double click to open it. Or you can open it through a new window on Aspen Plus V8.6.
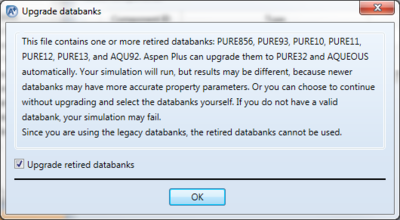
You might see the following message, Click OK.
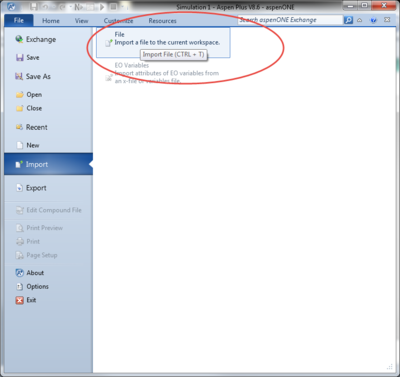
Now go to Properties mode. Click on File-> Import and provide the same location you used to store you bkp file from the chemistry wizard model generation.
You should find your file Simulation.bkp at that location. Load it.
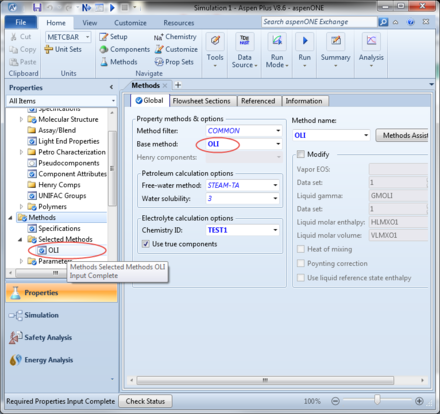
Once you click OK, the OL model is already loaded in the Properties Section. Please confirm it through following screen capture.
The chemistry ID says TEST1.
And your simulation mode should have your mixer and separator displayed.
Now your import is successful.
Running a simulation with OLI model in Aspen Plus V8.6
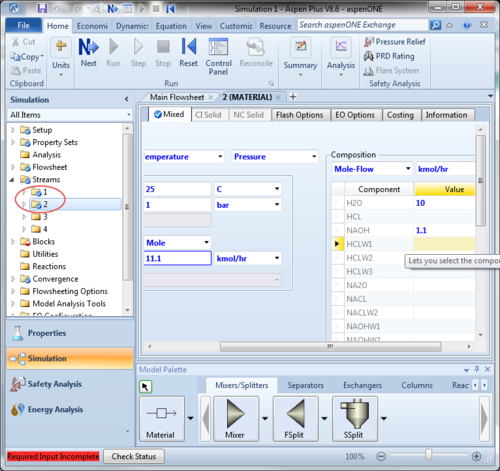
Please use the conditions below to input the material stream values:
| Stream 1: H20 10 kmol/hr | Stream 2 : H20 10 kmol/hr |
| Stream 1:HCL 1 kmol/hr | Stream 2 :NaOH 1.1 kmol/hr |
| Temperature 25 C | Pressure 1 bar |
Please input the stream values as above. The check marks before the stream numbers will be blue once you do that.
Use the same Temperature and Pressure conditions for the Blocks.
Click on the Next button on the top toolbar to make sure you have input all the necessary information.
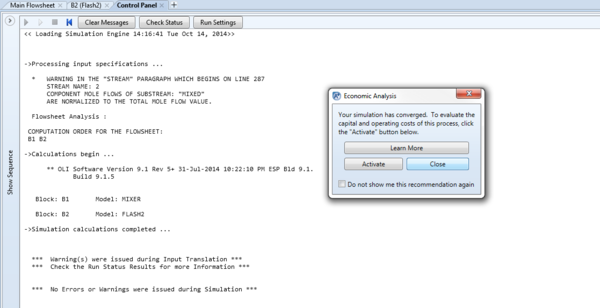
Click OK to run the simulation.
Your simulation will be convereged and you should see the following message in the summary box:
