Difference between revisions of "Installing and Running OLI Engine for UniSim Design (for individual softkey)"
| Line 98: | Line 98: | ||
[[File:Unisoft18.png]] | [[File:Unisoft18.png]] | ||
| + | |||
This message means that the key was installed correctly | This message means that the key was installed correctly | ||
| + | |||
[[File:UniSoft21.png]] | [[File:UniSoft21.png]] | ||
| + | |||
| + | |||
| + | Close the Security Settings and Test window at this point. | ||
Once you reopen OLI Software, you will see the following screen , which indicates successful installation: | Once you reopen OLI Software, you will see the following screen , which indicates successful installation: | ||
[[File:Unisoft20.png]] | [[File:Unisoft20.png]] | ||
Revision as of 07:31, 7 May 2015
Contents
Downloading the OLI Engine in UniSim Design
Go to our Downloads page at[www.downloads.olisystems.com]
Use your Softkey serial number provided to you by OLI Systems Inc and find OLI Engine listed.
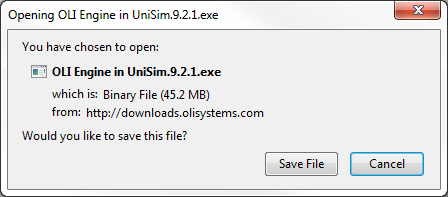
Save the file:
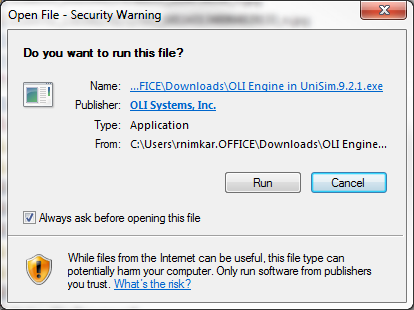
Run the file:
Installing the OLI Engine
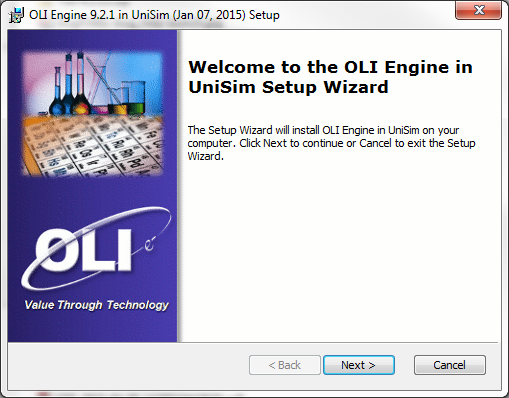
Click Next on the Setup Wizard:
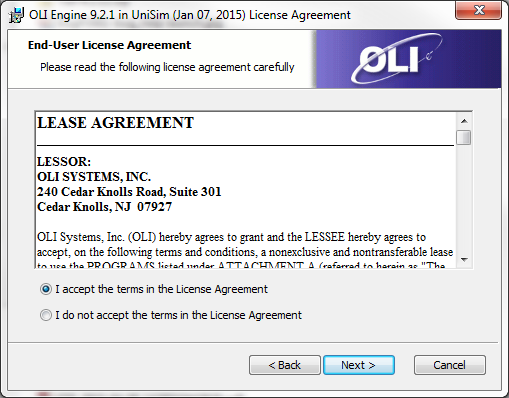
Select the I accept the terms radio button and click Next:
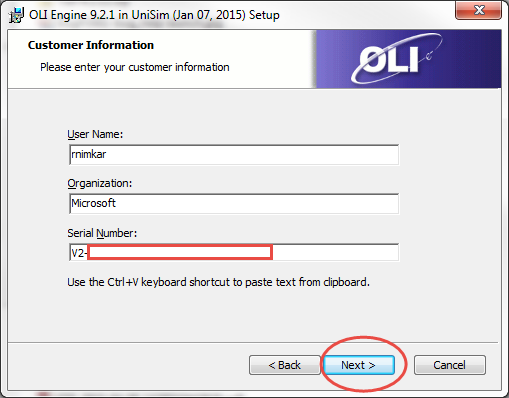
Input your serial number in the Customer Information section:
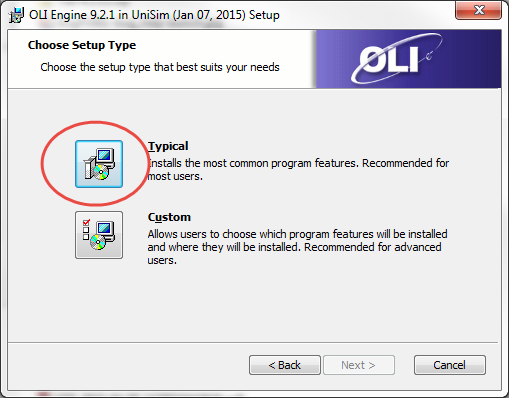
Choose the 'Typical Install:
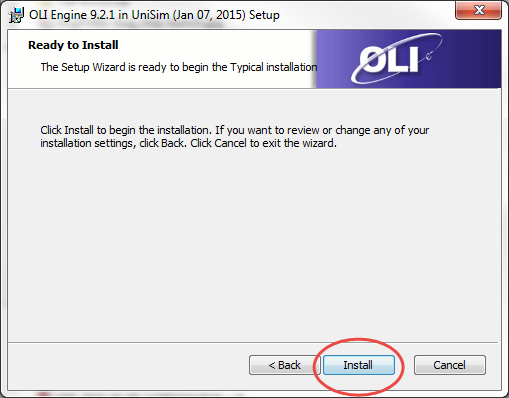
Begin Installation:
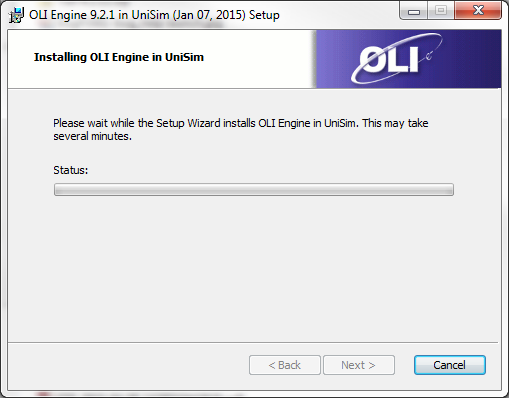
You will see the following progress window:
Please check your start bar for the software requesting permission to allow you to make changes to your machine, click OK.
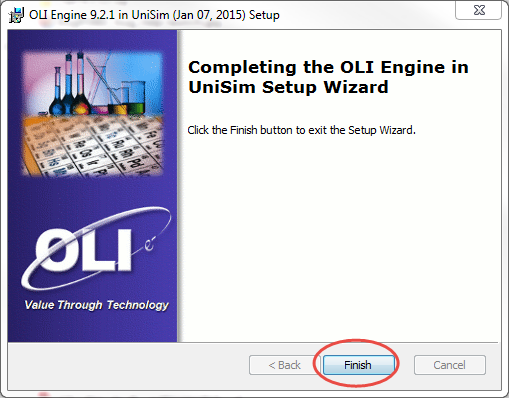
Once the progress bar completes, you will be taken to this next section, click Finish
You will exit from the installation process now
Applying the Softkey
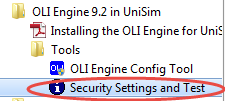
Go to Start->All Programs->OLI Systems-> OLI Engine 9.2 in UniSim-> Tools-> Security Settings and Test
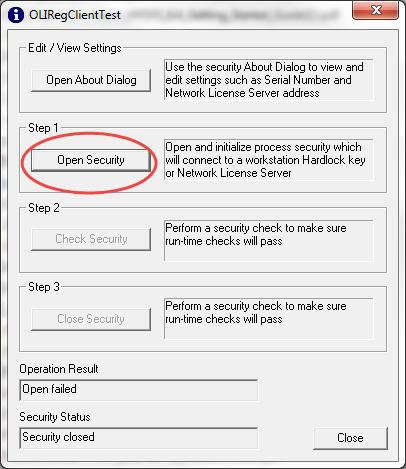
Open Security:
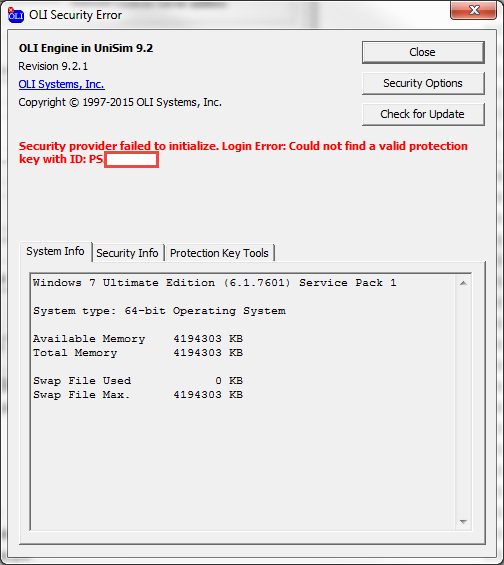
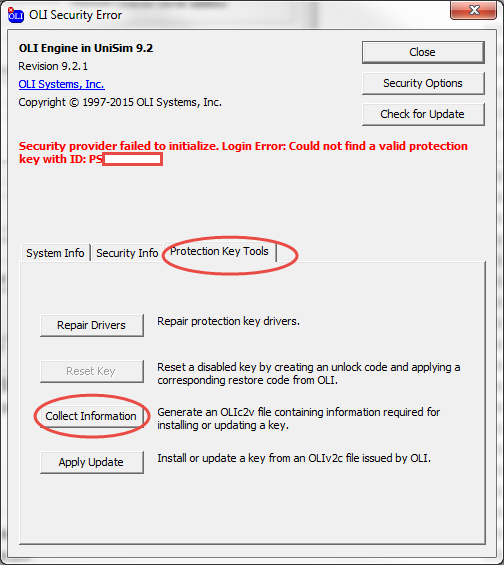
You will see the following Error message:
Go to the Protection Key Tools Tab:
Click the Collect Information button. This will scan your computer and compose a list of objects and then encode them in a binary format. OLI can use this file but cannot read this file. Under no circumstances will OLI Systems, Inc. share this information without your express/written consent.
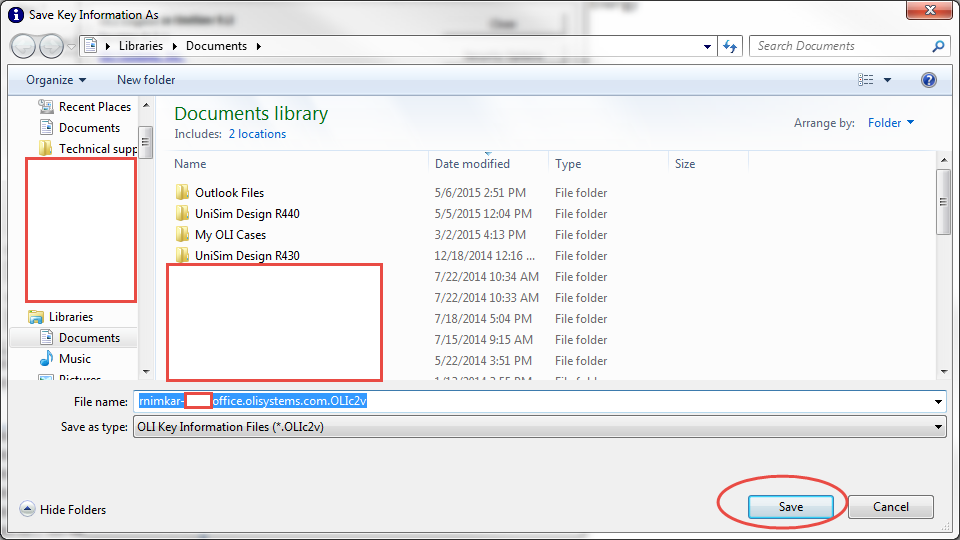
After you click Collect Information, it launch a familiar save dialog. save the c2v file in preferred location, for this example, we are saving it in Documents.
Send this file to OLI Systems Inc.
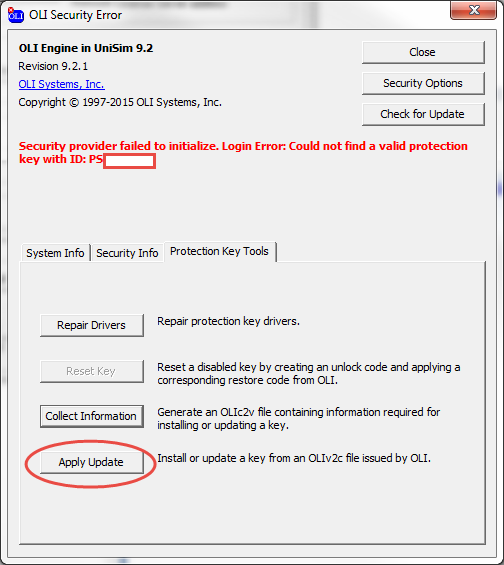
Applying the Update
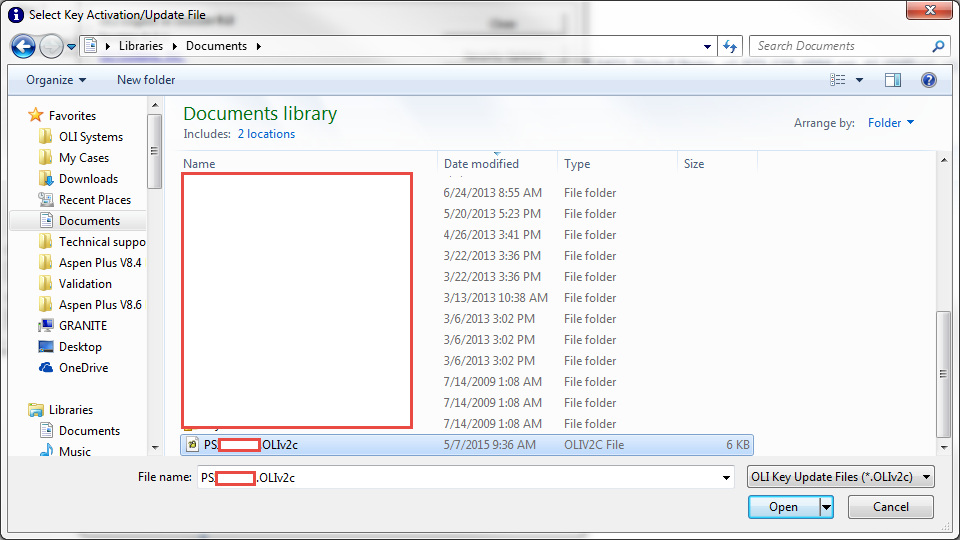
You will receive a file from OLI Systems with the name of the softkey with the extension OLIv2c (vendor-to-client). In our example this file name would be: PSXXXXX.OLIv2c.
Once you receive that you can locate the file that was supplied by OLI Systems. Highlight it and select Open.
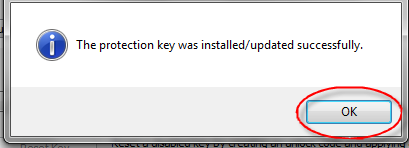
This message means that the key was installed correctly
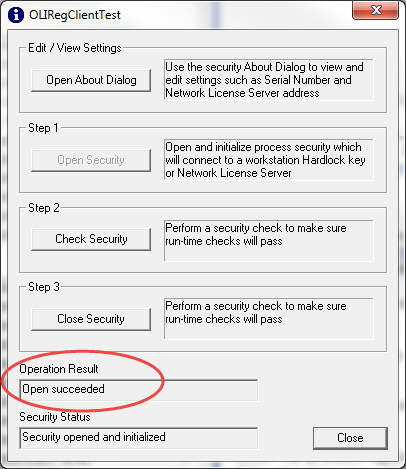
Close the Security Settings and Test window at this point.
Once you reopen OLI Software, you will see the following screen , which indicates successful installation:

