Installing and Running OLI Engine in UniSim Design On Network
Revision as of 11:48, 7 May 2015 by RNIMKAR (talk | contribs) (Created page with " Find OLI Engine for UniSim from this list under Alliance Products: File:Unisim 20.jpg Go to the location of your downloaded files. Right click on the file, run the exec...")
Find OLI Engine for UniSim from this list under Alliance Products:
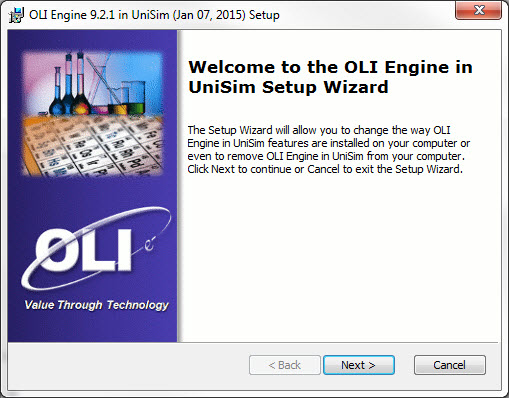
Go to the location of your downloaded files. Right click on the file, run the executable file as an administrator.
Click Next
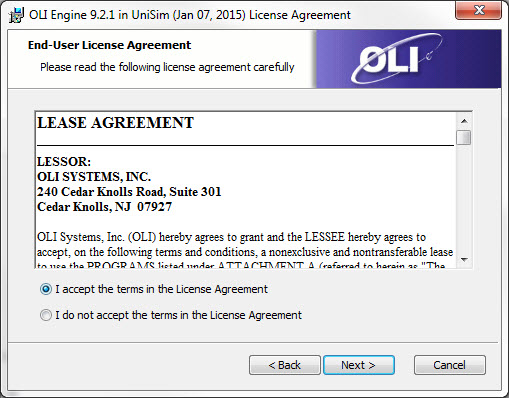
Select the radio button for I accept the terms in the License Agreement and click Next
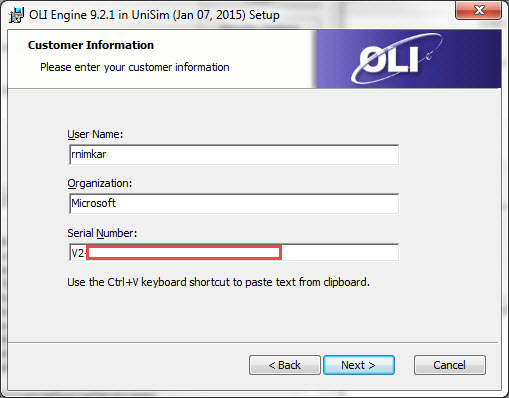
Input your Client Serial number on the following screen for Customer Information : OLI Serial Numbers have the format V2-XXXX-XXXX-XXXX-XXXX-XXXX-XXXX
The following steps regarding the IP address or server binding only apply if you have an LA or LS key.
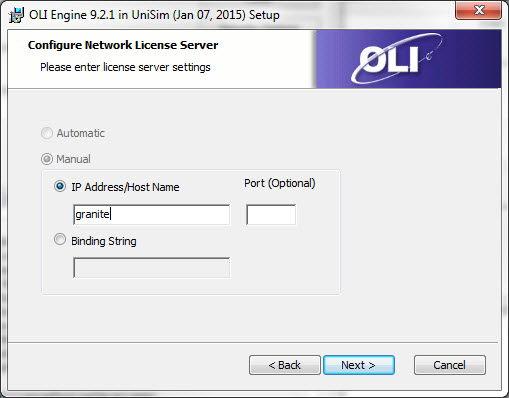
  This next step, if we are installing the software on a different machine from the Network License Manager then we need to change just one screen for IP address.

  Please input Server Name or IP Address of the machine where License Manager is installed in the IP Address/Host Name section. This has to be obtained from your company's IT department
  If you are installing the software on the same computer as the license manager then use the following IP Address 127.0.0.1
Please note that if you have a firewall, you MUST enter a port number next to the IP Address/Host Name section. This port number can be obtained from your company's IT department.
Click Next
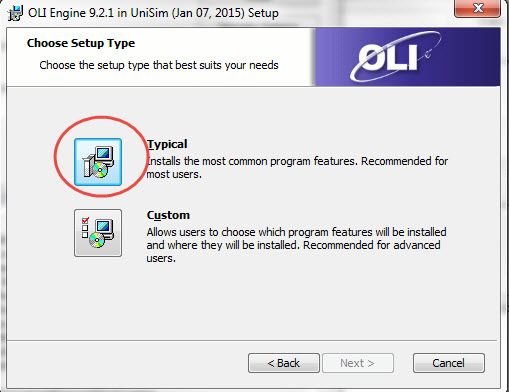
Select the Typical install option
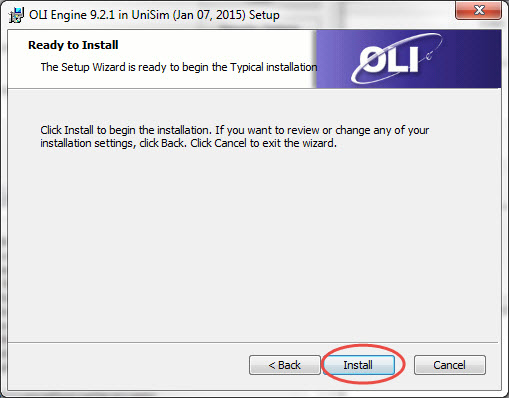
Now you are on the Ready to Install section. Click on Install
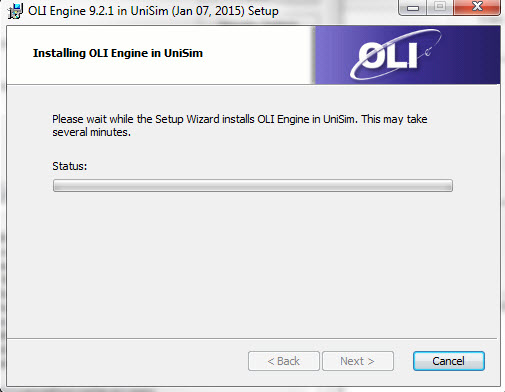
This will bring you to a Progress window.
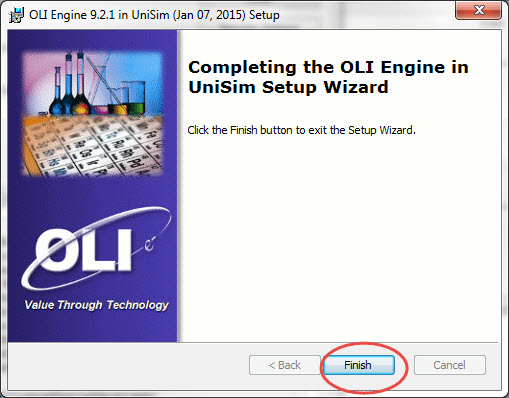
Click Finish after you see the following window:


