Importing OLI chemistry model in PRO/II
Overview
ProII allows you to use several pre-defined electrolyte models which use the OLI thermodynamics. On occasion you may want to use your own model with a set of components unique to your process. To do that you need to use the OLI Chemistry Wizard.
The OLI Chemistry Wizard is a stand-alone product that is installed in one of two way:
- It is installed as part the natural ProII installation process (which is known as the limited chemistry model)
- It is obtained directly from OLI Systems and installed separately from the ProII installation (which is known as the Full Chemistry Model)
In either case, you need to create the chemistry and components outside of ProII. The resulting file has the extension DBS and then must be imported into ProII.
After the importing is complete, the ProII component list is created and then all the tasks normally performed in ProII can be completed.
Creating a Chemistry Model for ProII with OLI Chemistry Wizard.
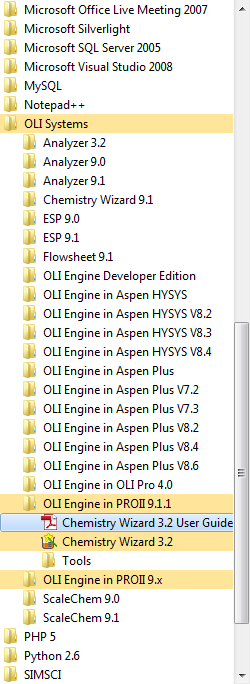
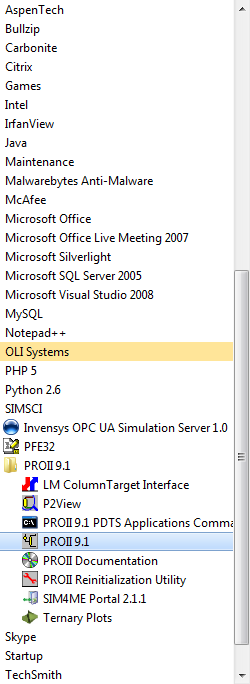
Go to the Start bar and open a folder OLI Engine in PROII 9.x. Please note that x means which version you have installed on your machine. For this document we are using 9.1.1 as example.
The OLI Chemistry Wizard can do much more than what is decribed in this example. For more details please check out the Chemistry Wizard page.
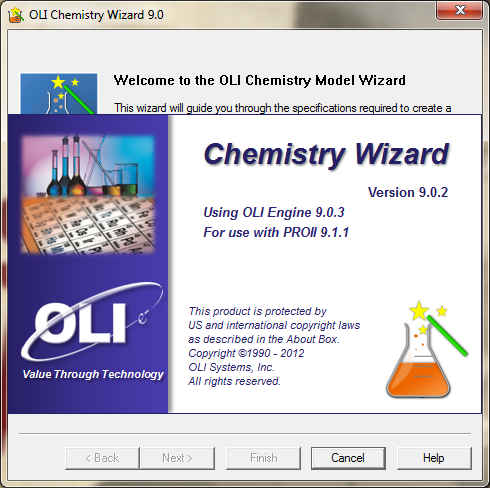
Open the Chemistry Wizard, you will see the flash screen with the OLI Engine number and PROII version number for use.
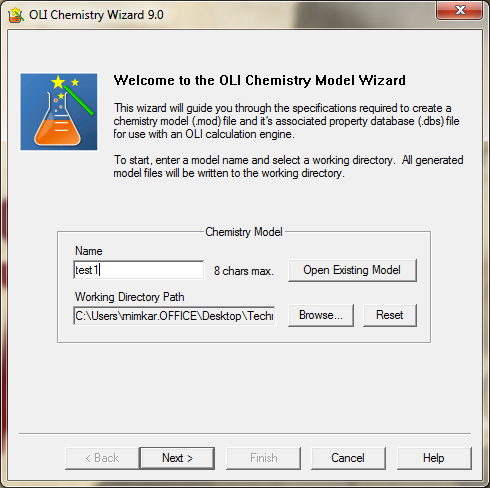
We are creating a test1 chemistry model for example. Please make sure to have the working directory path to be valid and same for your PROII files and chemistry wizard files.
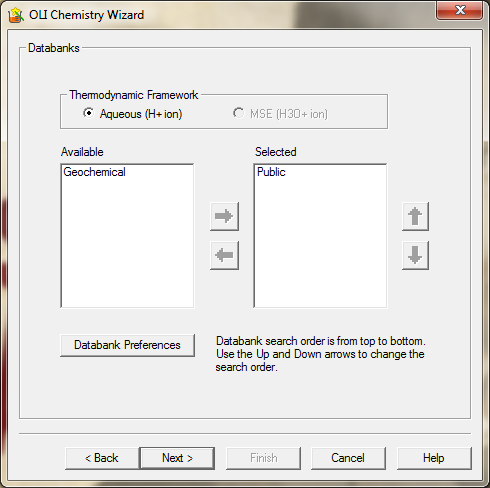
This screen tells you which Thermodynamic Framework OLI is using for this mode. It is Aqueous.
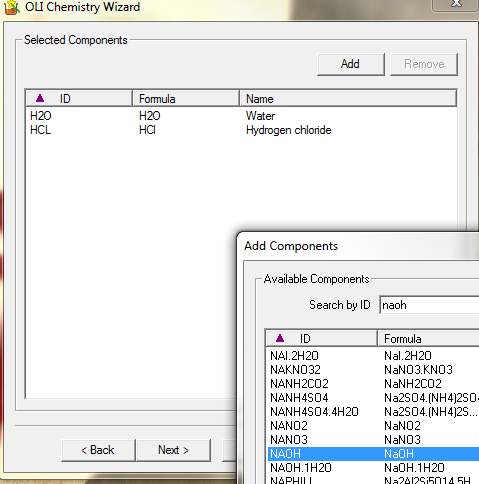
Click on Add button on the next screen and start typing names in the pop up window. Column listed under ID will get populated.
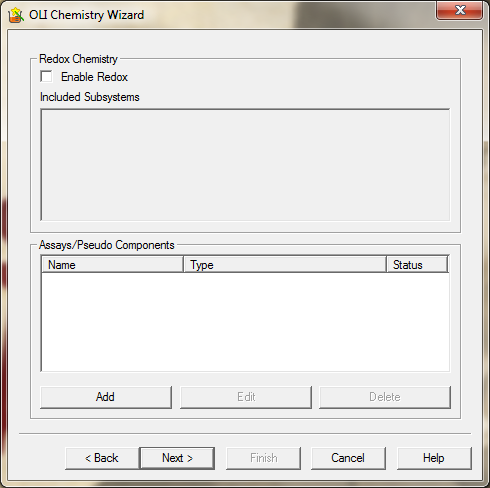
Click Next on Redox and Assay/ Pseudo Screen. We will not be covering them for this tutorial.
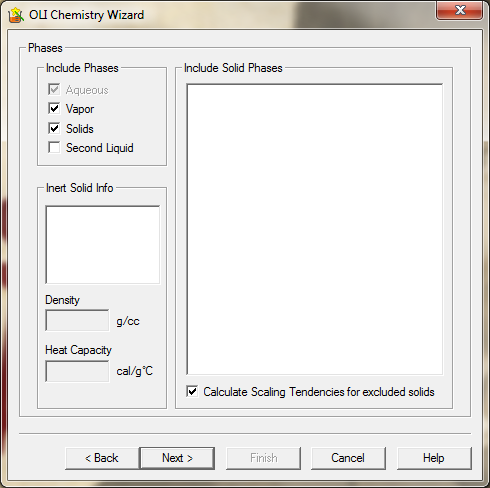
Check the Phases to include them.
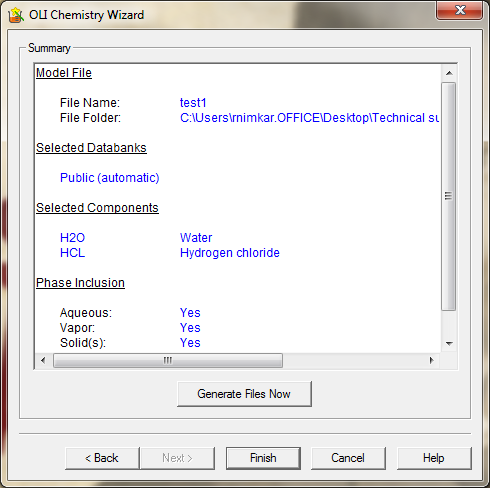
Click on Generate Files now to create a dbs file for use in PROII.
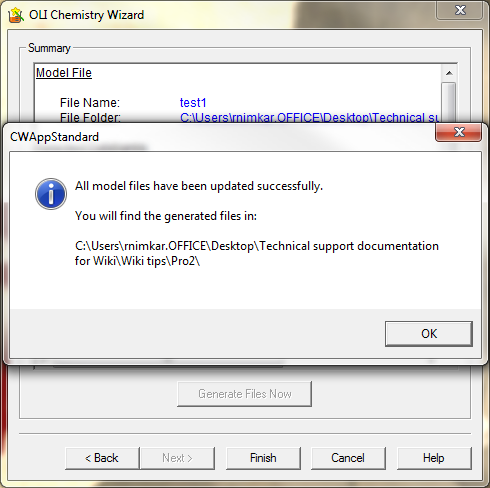
When you do the above step you will see the following message. It shows the Working directory on this message too. Click OK and Finish.
Now it's time to launch the PROII software. Go back to Start bar and find the Software.
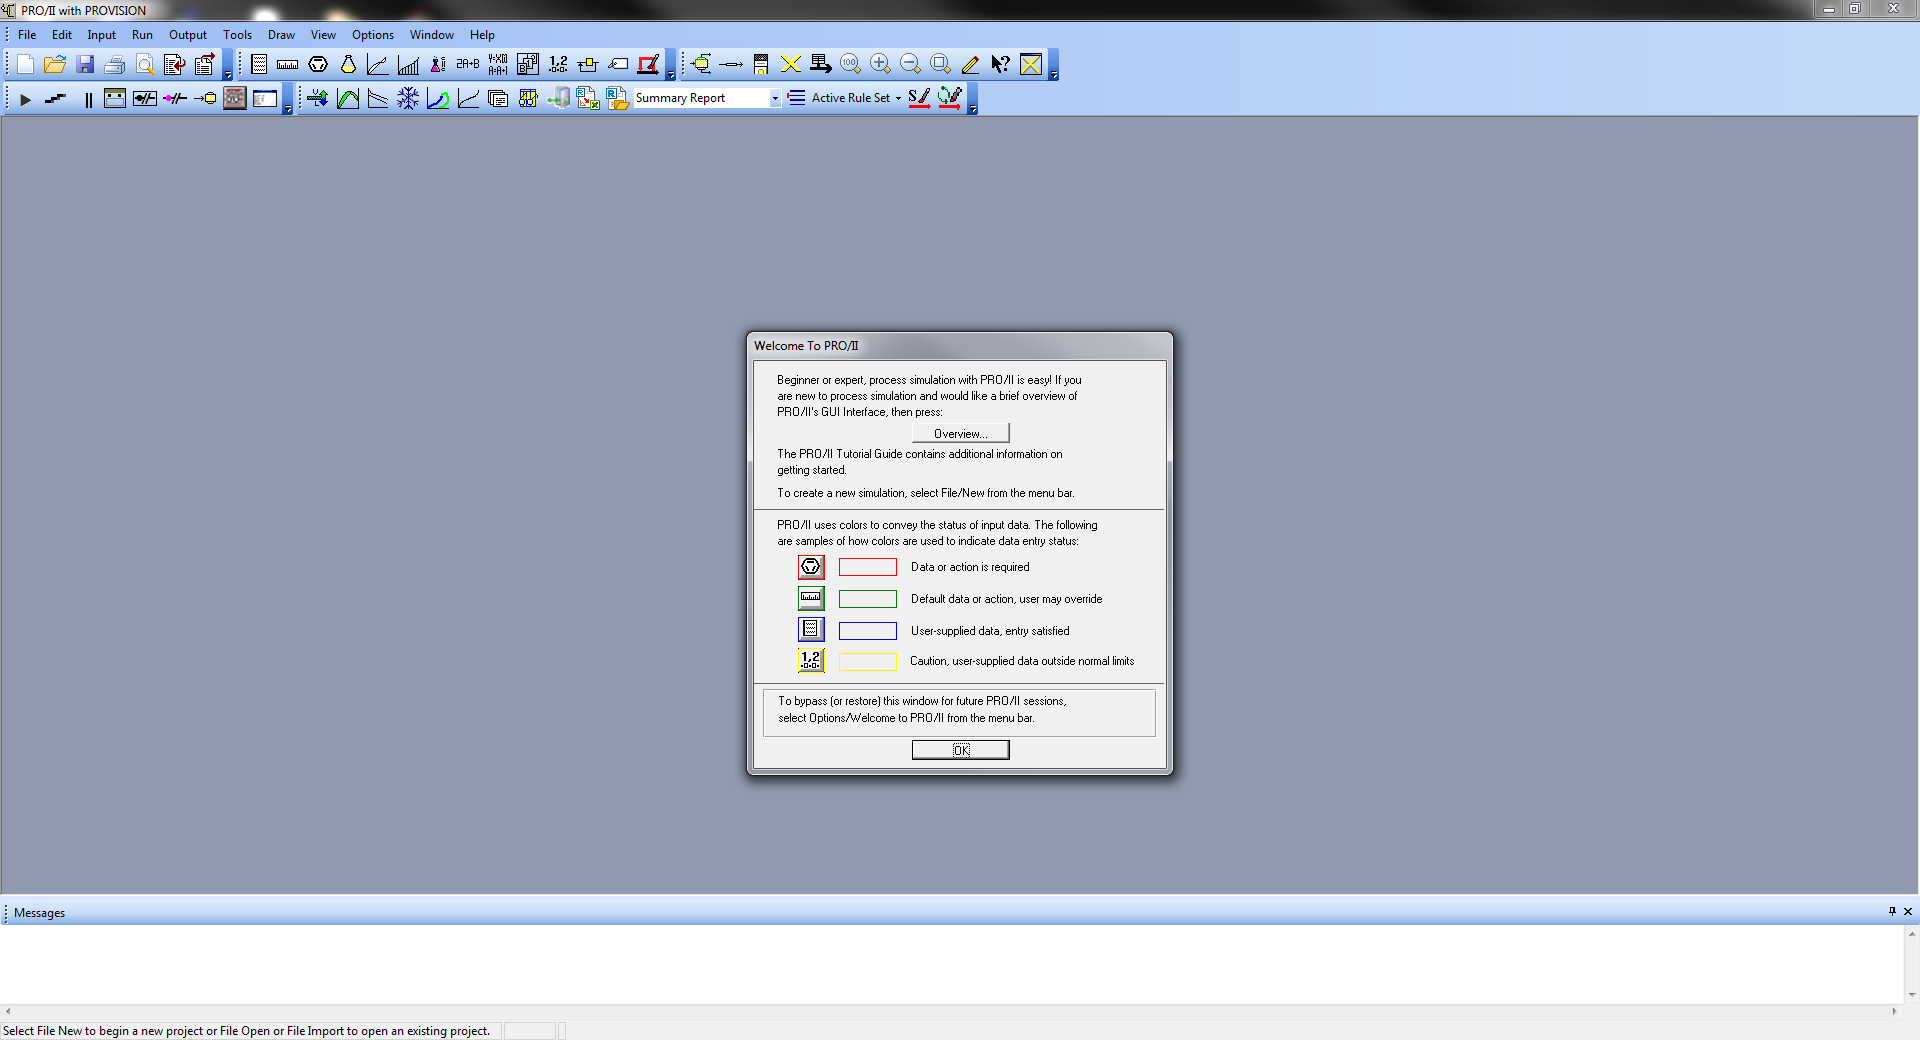
This is how version 9.1.1 looks. Note that the purpose for this tutorial is to cover the chemistry import from OLI side only. Any questions on the PROII interface should be directed to Schneider Electric.
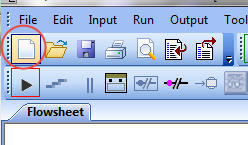
Open a new file as shown below.
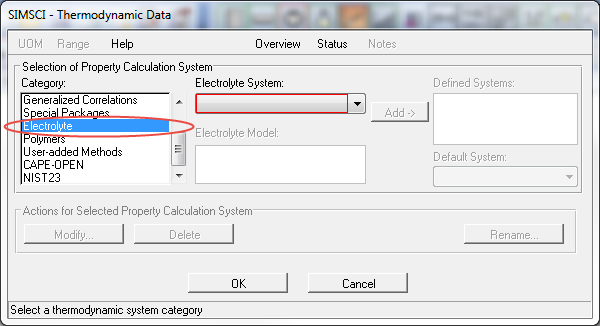
Go to the Thermodynamic Data icon on the top toolbar.
Under category, select Electrolyte.
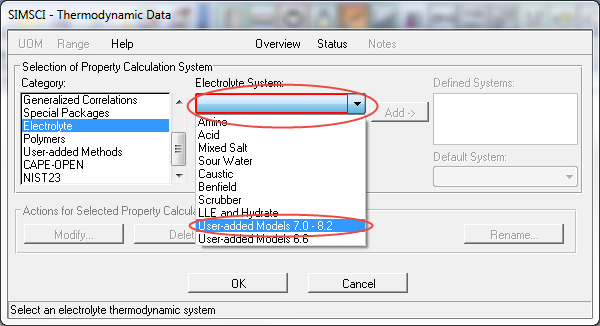
Next, under Electrolyte System, select User Added Models 7.0-8.2. For newer versions, these numbers might be different.
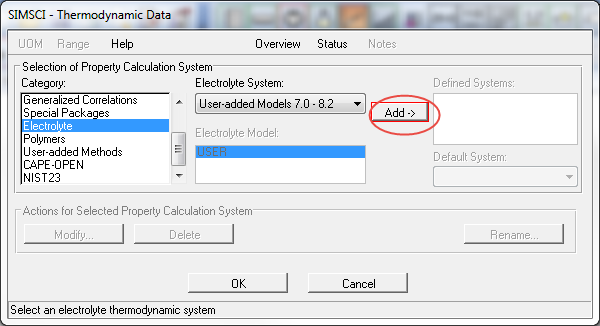
Click on the Add-> button after choosing the Electrolyte System.
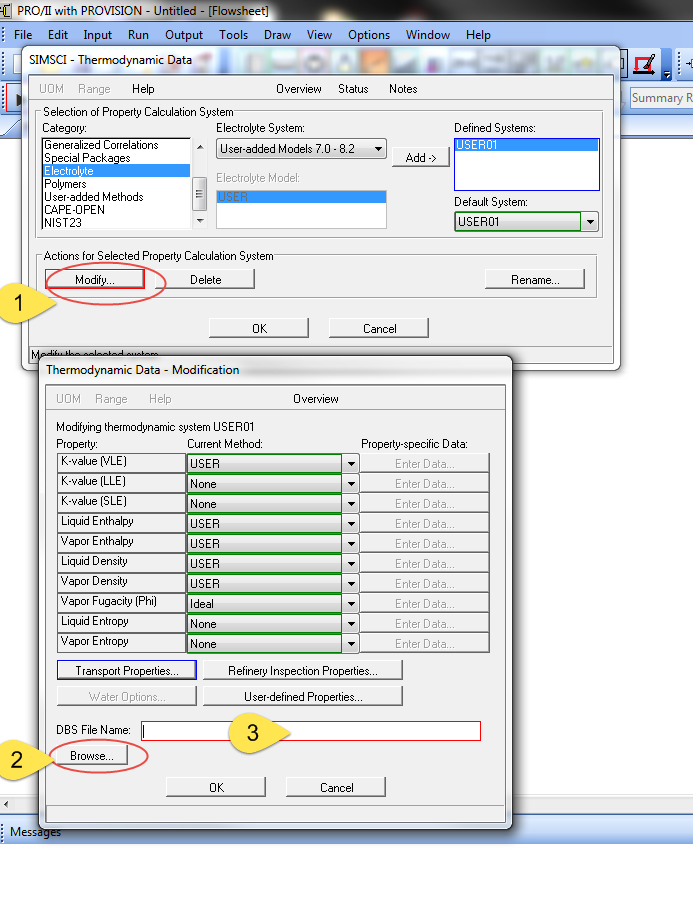
Now we have three steps. Click on the Modify button shown by #1 under Actions for Selcted Property Calculation System.
A Thermodynamic Data- Modification window pops up.
Click on Browse button shown by #2.
Insert the working directory address copied from Chemistry wizard dbs file above at this point. Shown by #3
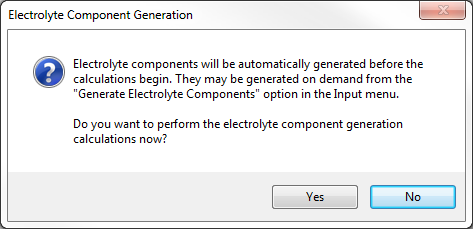
Following message will pop up about Electrolyte Component Generation. Click Yes.
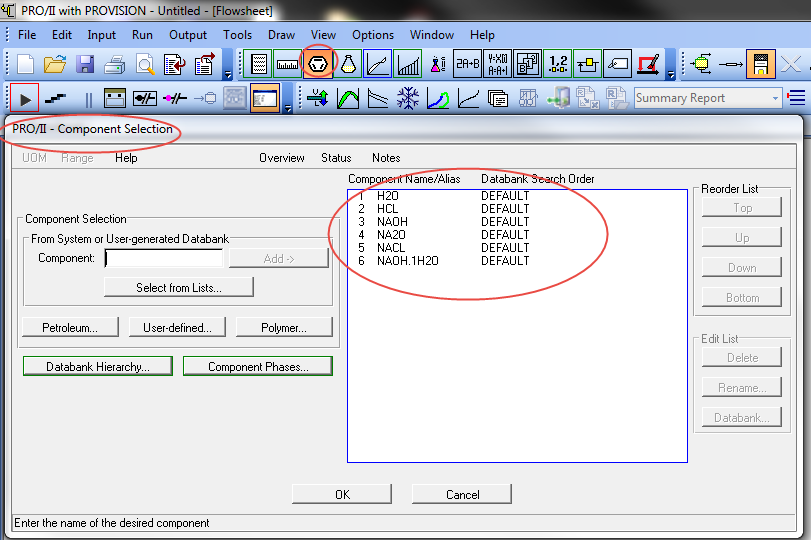
Now you are all set to perform the calculations in PROII using OLI chemistry. To confirm the components to be there. Click on the Component selection icon at the top toolbar. It is encircled in the following image. The pop up window shows the components you selected earlier in the chemistry model.
Please contact OLI [email protected] if you had any further questions about chemistry wizard or model importing.
